How to Rip a DVD to an AVI or MPEG File
1. Download DVDx archive file to your computer (DVDx_2_10_setup.zip), open it and double-click on "DVDx Setup". Complete the installation of DVDx.
- Ensure you have XviD (and/or DivX) drivers by installing AutoGK or downloading codecs separately.
- Download the latest Avi Rip free from Avi Rip
- Download the latest DivX free from divx.com
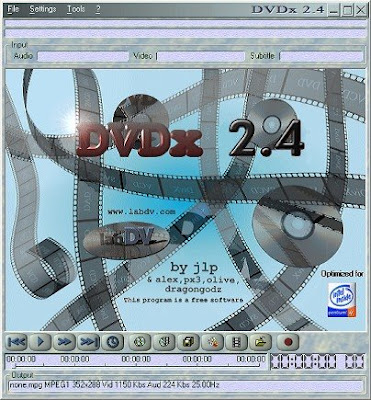
2. Now run the DVDx software. The program window will appear.
You should insert the DVD you wish to rip into the DVD drive. Alternatively, if your DVD is saved as files on your computer, you can rip from there.
On the DVDx window, there are three menus available, File, Settings, and Tools.
A file window opens, and you can browse to your DVD.
Alternatively, to open DVD files which have been previously saved to your hard drive, click "Open IFO" to select your hard disk files as source.
In the folder selection box, select the file VTS_01_0.IFO in the DVD target directory on the hard drive.
 Your movie is now loaded as source.
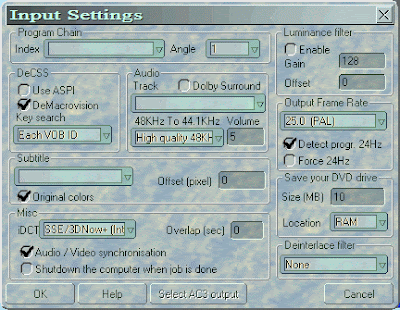
The Input Settings dialog automatically opens.
3. If you have more than 1 movie on the DVD, select the file that shows up in the popup box and then choose which movie you wish to encode by selecting it from the pull down menu in the upper left corner. You will have to choose the root menu and file for each one on the DVD, if there is more than 1 movie on the DVD.
 4. Notice that the Input Settings dialog will show, in the Program Chain Index section at top left, the length of the movie to be processed. Check a suitable audio track is shown in the Audio section.
- Other settings can be left at default.
- Note: If during conversion you get an error "DVD drive could not be locked", you should install ASPI drivers, and then select the "Use ASPI" option. Otherwise this will not be necessary.
- Now click OK.
6. Change several settings in the Output Settings dialog box:
- Choose an output format (AVI is suitable for playback in Media Player).
- Now choose an audio compression method. Lame MP3 is capable of excellent sound at small filesize (AVI only). If Lame is not available, choose the MPEG video compression, or download Lame MP3 drivers.
- Choose the XviD video codec in the dropdown menu. Click 'Enable Video', but leave 'Enable 2nd' unchecked. You can choose an alternative video codec (such as DivX or Mpeg4) if you prefer.
- Across in section Export Settings, choose a screen size (resolution) for encoding.
- For widescreen monitors (size ratio 16:9) choose 720x576. Any multiple of 16 is acceptable.
- For normal monitors choose (size ratio 4:3) choose 720x544. Any multiple of 16 is acceptable.
- Next to the Max Frame number, click the button named Whole. Make sure you press this button for each new DVD movie or DVD file that you choose.
- Other settings can be left at default.
- Click the Apply button.
- Browse to a suitable destination folder, and type a filename into the box. Click on Save, then OK.
- You are now ready to convert a DVD to an AVI.
10. Wait for encoding to complete and then enjoy your movie.
Source:WikiHow
Related Posts :
Subscribe to:
Post Comments (Atom)

0 comments:
Post a Comment